The Best Installation Patterns for Wood-Look Tiles

In this article, we will explore the many possible installation patterns for wood-look porcelain stoneware planks. We will start with some essential tips on how to design a layout that isn’t only practical, but respects the geometry of the space. In addition to the specific format and texture, the chosen layout for installing wood-look ceramic tiles greatly impacts the perception of the environment: from running bond to herringbone patterns, the result can convey a more rustic, traditional, or even sophisticated feel.

Tile Installation: Where to Begin?

Once you have chosen the tile for a given surface (whether horizontal or vertical), it is important to carefully evaluate the starting point for installation. While this may be relatively straightforward for wall coverings, it can be more complex for floors.

As a rule, the installation of ceramic flooring begins at the entrance threshold. Whether the chosen format is square or rectangular, it is certainly more visually appealing to step in and see a full tile rather than a cut one. If the room is slightly longer than an even multiple of the tile’s side, then very small cuts that can detract from the overall aesthetic are inevitable.

Clearly, this general rule must be adapted to the type of room and to the number (and importance) of the entry points. If there are two entrances facing each other, one must be prioritised, laying a row of cut tiles near the secondary threshold.

The starting point for installing wood-look porcelain stoneware is generally clearer, especially if it is a smaller format plank and you have chosen a staggered layout (which we will talk about shortly). When  ceramic wood-look planks are installed, the long side of the plank is generally aligned with the longer side of the room, ensuring a squared layout. The dynamic nature of this type of installation, along with the high number of cuts, makes the starting point of the short planks less significant. After all, it is inevitable that an entrance threshold located on the shorter side of the room will have many cuts.

How to Lay Tiles: The Most Popular Floor Tile Patterns

The installation pattern is undoubtedly one of the elements that will most define the end result. Its impact depends on several factors. Let’s focus on the main ones:

  • the shape and size of the format
  • the type of tile edge (rectified or not)
  • the graphic texture the grout colour used to fill the joints
  • the size and shape of the room or, more broadly, the tiled area

Of all the factors, the most influential one is certainly the format. In fact, the smaller the format, the more important the pattern of the tile layout, for the simple fact that it is more noticeable. The exact opposite is true for, large slabs, which can measure up to 160x320 cm. Here one notices the direction of installation (horizontal or vertical) and the staggering of the slabs. Such is the case, for example, when it comes to large external facades with no openings or architectural elements to break the continuity of the ceramic cladding.

Here are some of the most common tile installation patterns:

  • straight: the simplest and most traditional pattern, with tiles (often square) installed in a regular grid, aligned at a right angle to two adjacent walls;
  • staggered: commonly used with rectangular tiles, this pattern involves offsetting the rows (in the direction of length). The shift is typically 1/3 or 1/4 of the long side of the tile;
  • diagonal: this grid is regular but rotated 45° in relation to the walls, creating a visual effect that tends to make smaller spaces feel larger;
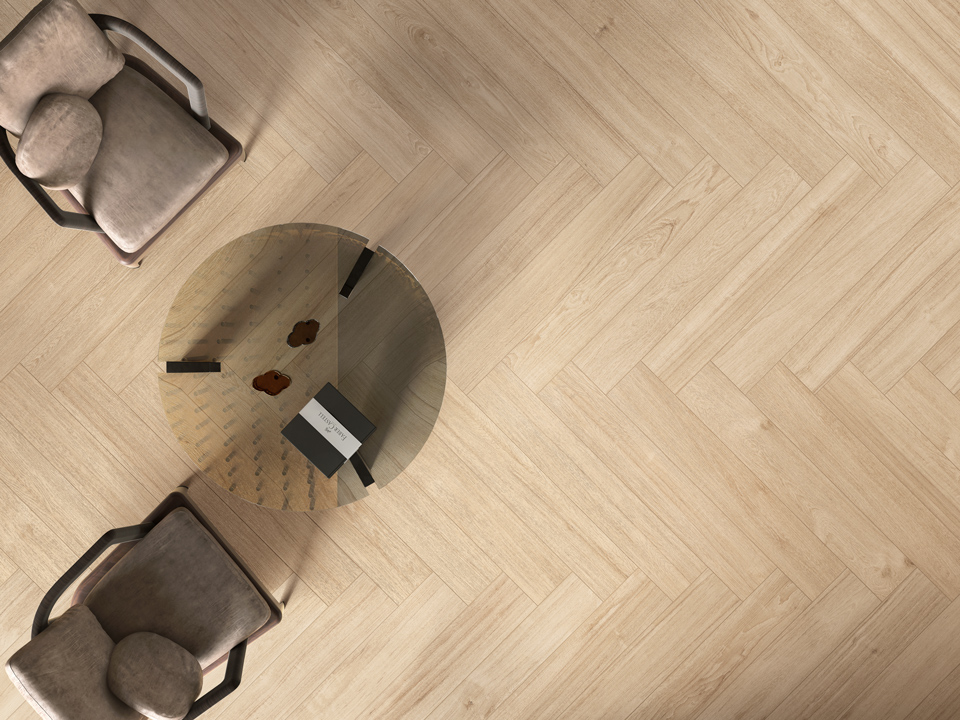
  • herringbone: an elegant and dynamic pattern, ideal for medium to small wood-look ceramic planks, which are arranged at 90° to each other in parallel rows, so that the end of one plank aligns with the side of the other;
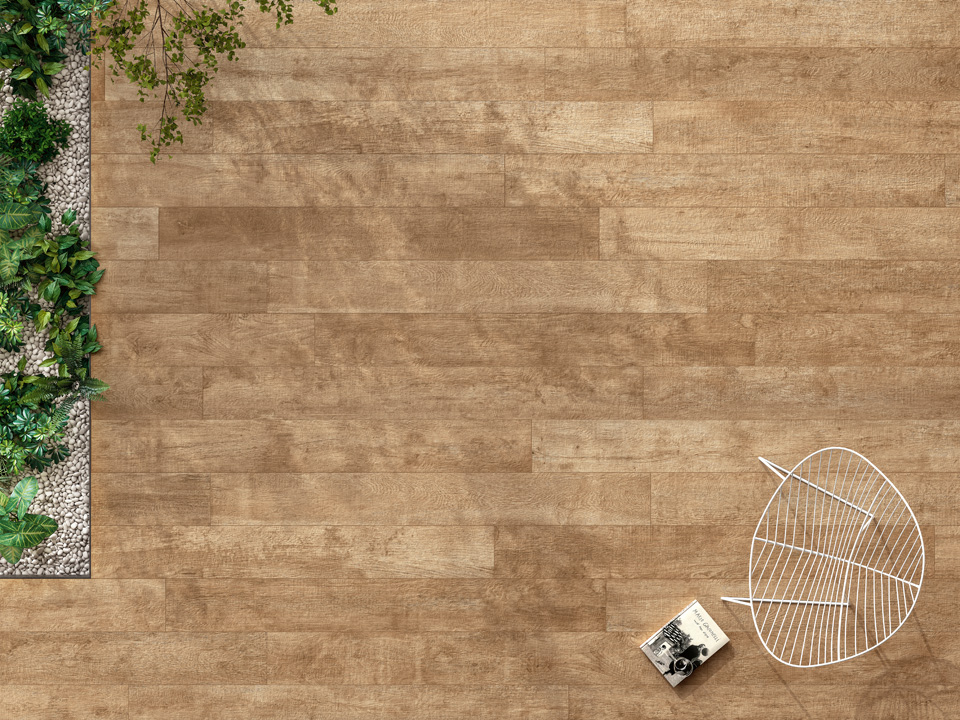
  • running bond: commonly used for wood-look porcelain stoneware tiles which are installed with a staggered placement, but without a recurring pattern, creating a dynamic and pleasantly rustic effect;
  • grid: an extremely regular and modern pattern ideal for wood-look ceramic planks, in which the tiles are aligned lengthwise so that the end joints correspond to alternating rows. Naturally, this installation requires planks that are all the same size.

Running Bond

This layout is particularly well-suited for the installation of staggered wood-look porcelain stoneware slabs. Here the ceramic planks are arranged in parallel rows, but with the end joints not aligned with one another. With the running bond layout for wood-look stoneware, it is crucial to carefully choose the direction of the rows, or rather which side of the room will be parallel to the long side of the tiles. Angling the rows in relation to the walls, for example in a square room, is not recommended as it does not enhance the aesthetic. On the contrary, it often disrupts the room’s flow and creates the need for a many diagonal cuts which slow down installation and drives up costs.

The running bond layout for tiles makes it possible to combine formats of differing lengths and the same width, or even formats with varying widths simply by aligning the row of format A parallel to the row of format B, and so on and so forth. That which may seem odd initially, makes sense (and is even charming) when we imagine applying this type of running bond layout to wood-look porcelain stoneware. In this case, the flooring acquires rhythm without sacrificing balance, especially if the room is large and the wood-look is rich in tonal variations.

Italian Herringbone Floor

This installation pattern is perfect for smaller wood-look porcelain stoneware tiles, such as ceramic planks measuring up to 60 cm long. This solution gives a dynamic quality to the installed surface, helping to preserve the vintage look of historic and upscale buildings or exalting the rustic-chic appeal of country or Provençal-style environments. Regardless, a herringbone layout for wood-look porcelain stoneware is perfect for luxurious interiors, whether classic or modern. In fact, it establishes a true decorative pattern, with tiles arranged perpendicularly, parallel, or diagonally to walls. The Italian  herringbone floor is different from other similar types of layouts (such as French or Hungarian) because it doesn’t require cutting the ends at angles of 30°, 45°, or 60°.

Wood-Look Porcelain Stoneware by Cotto d’Este

Now that we have learned to recognise the most elegant installation patterns for wood-look porcelain stoneware, let’s take a look at the collections offered by Cotto d’Este in this rapidly growing market segment.

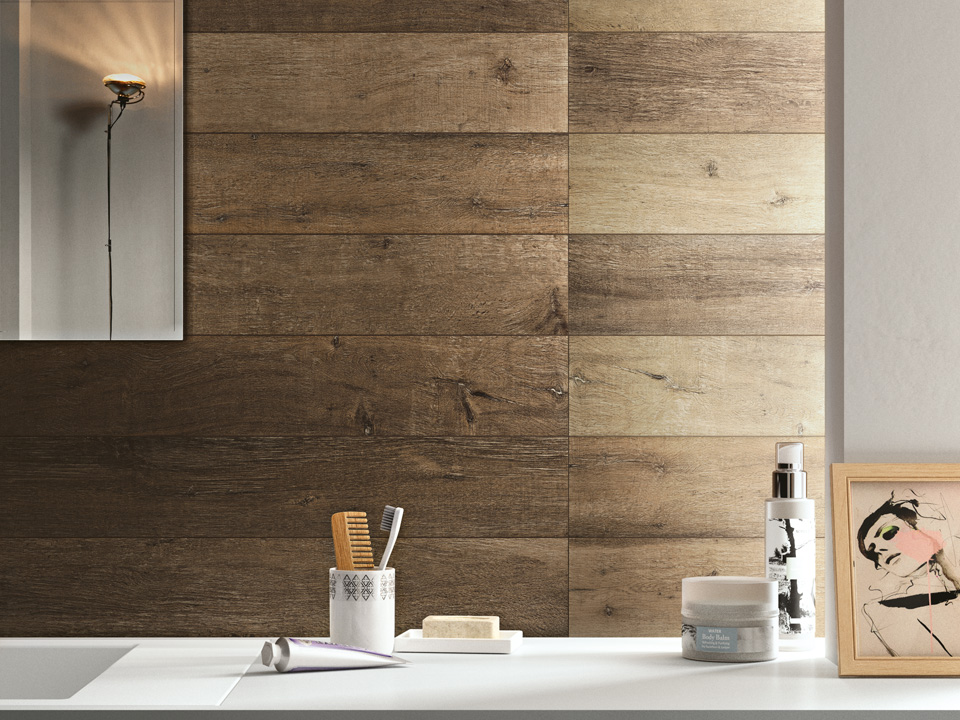
Woodland is a collection of Kerlite laminated porcelain stoneware inspired by the exploration of wood’s very essence, highlighting the innate natural beauty of the material in the form of its grain patterns and colours, with veining that, at times, appears sophisticated and organized and, at others, deeper and more pronounced. This selection of oak and teak features two surface finishes (Soft and Wild) and two formats: in addition to the 20x120 cm format, there is the extra large plank measuring 30x240 cm, which exalts the superior aesthetic quality of this wood-look product without detracting from its elegance and naturalness.

Cadore offers the allure of a wood-look product in ultra-durable 14 mm-thick tiles, ensuring a breaking load three times greater than traditional 10 mm-thick stoneware. Like Woodland, Cadore is also part of the PROTECT® line of extremely high performance antibacterial flooring and cladding products, for healthy, safe, and protected living.

YOU MAY ALSO BE INTERESTED IN

Follow us on social media

facebook instagram/cottodeste pinterest/cottodeste youtube/cottodeste linkedin/cottodeste

SUBSCRIBE TO OUR NEWSLETTER

Subscribe to the newsletter to receive exclusive dedicated offers.